
Adding custom fonts to React Native
August 8, 2022
The native way
Adding custom fonts to React Natiev can be tricky. Most guides suggest adding fonts via the react-native link command, which rarely works. If it doesn't work, you are just stuck with no fonts. Luckily, there is an alternative!
Adding the fonts to each native environment.
iOS
Start by opening XCode via the ios/<project>.xcworkspace file. Then you simply drag the .ttf font file into the project in XCode, see image.
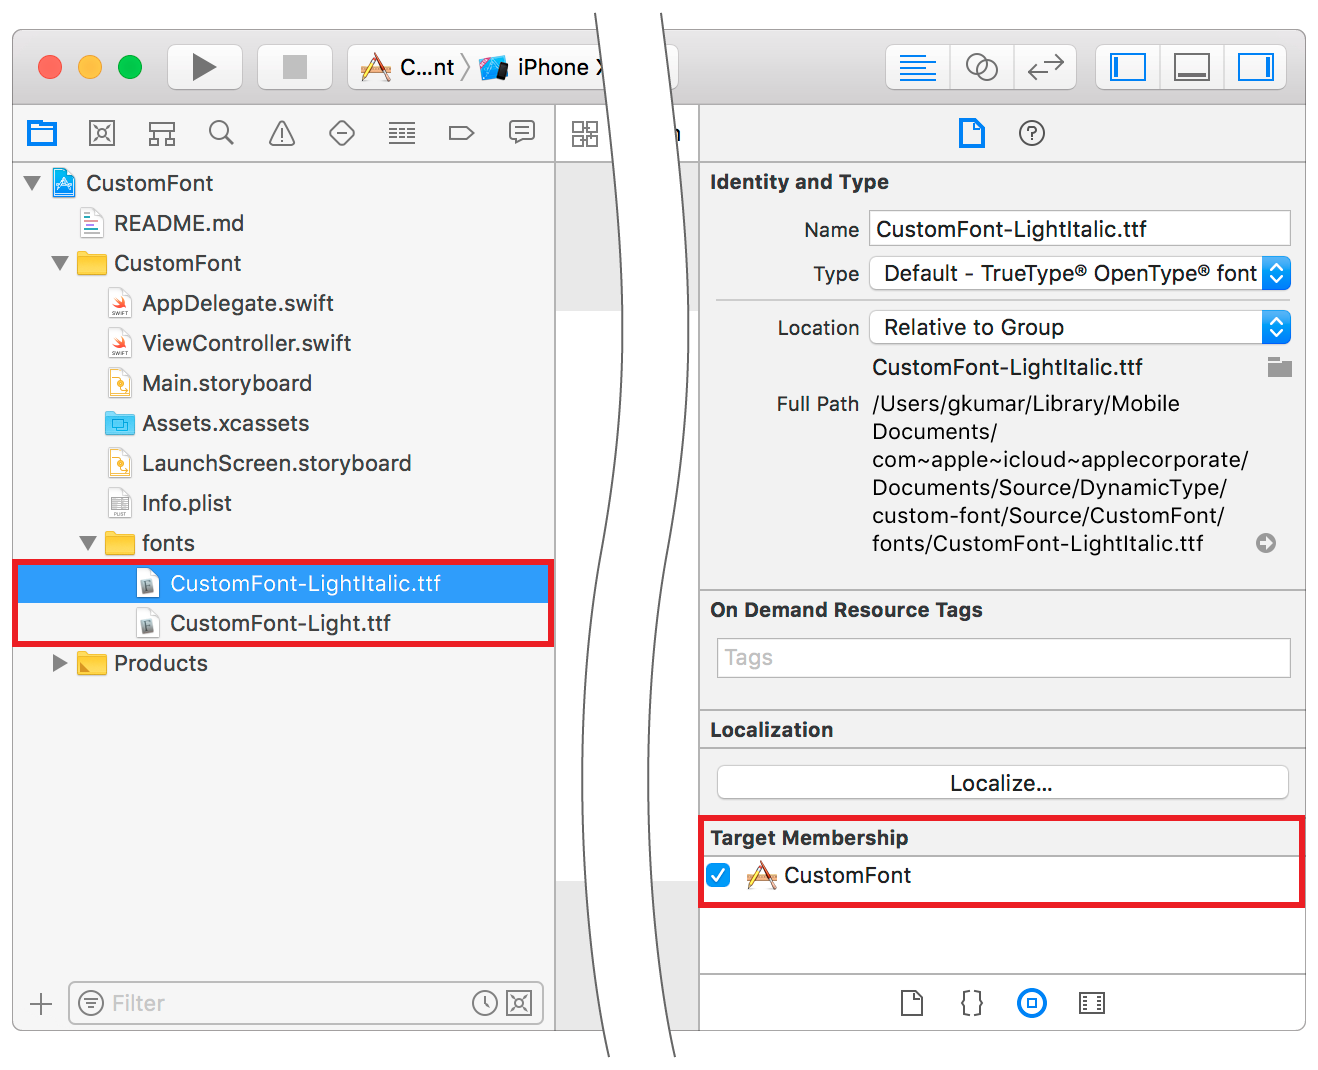
In the right panel in XCode, make sure that the Target membership is checked for your apps target. Check all that apply.
You must also add the font in the specification in the info.plist file.
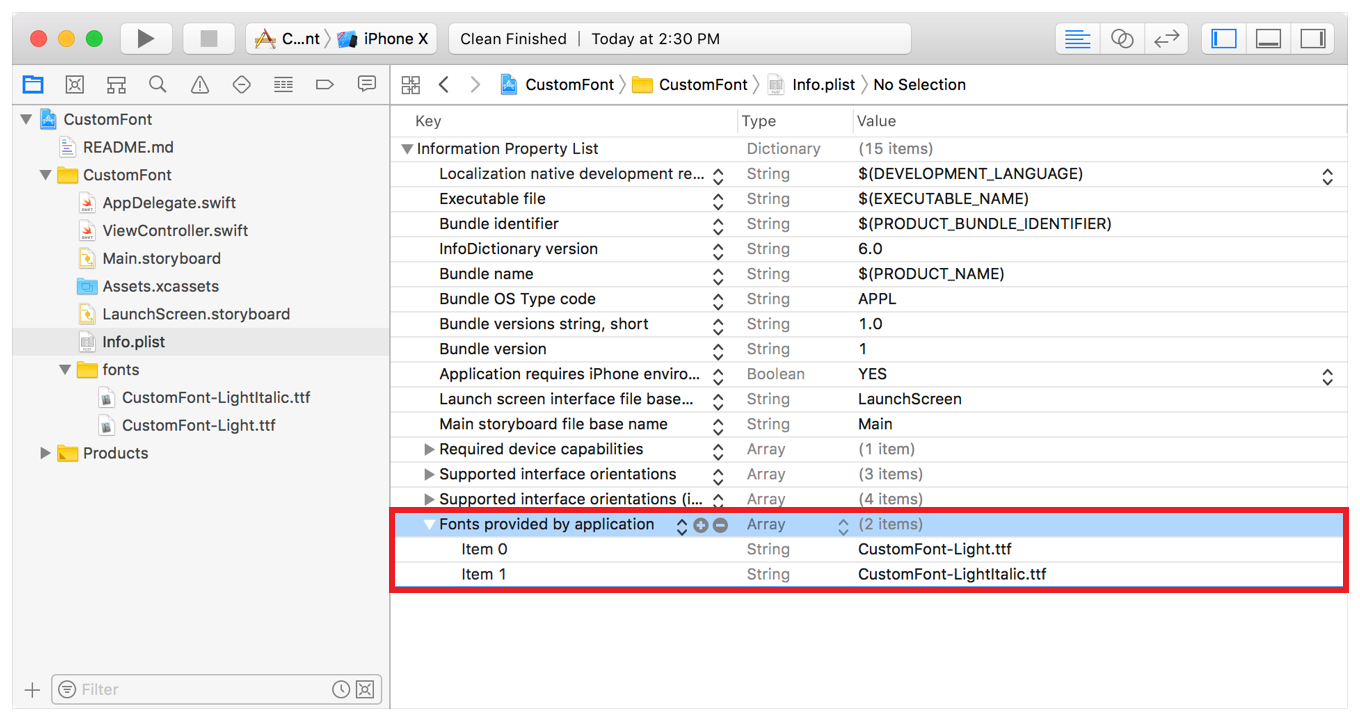 One entry per font file, with the name exactly as the file is spelled.
Android
Add the ttf font file to the folder android/app/src/main/res/font. Create the folder if it doesn't exist. Done!
Font name
You should now be able to access your font using the name of the font. On macOS you can open the font in "FontBook" where the name will be displayed. Example "Josefin Sans". Use this as the {fontFamily: "Josefin Sans"} in the stylesheet.
Remember to recompile you app before the fonts will start to work.